Set Up: Registering additional domain names for your hosting account in cPanel
Clients subscribed to the Doteasy Unlimited Hosting and Doteasy Business Hosting plans are allowed to host multiple domain names on one hosting account.
But before you go ahead and add additional domains via the Addon Domains tool in cPanel, you will first need to:
- Register the new domain name
- Point the new domain’s DNS to your current hosting account
Registering additional domain names for your hosting account
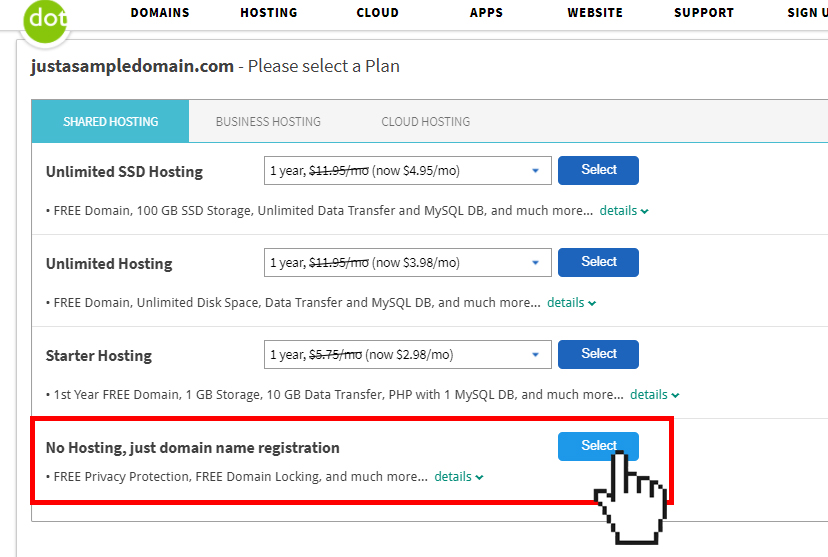
If you have not yet registered the additional domain name(s), you will need to do so using the domain signup form on the Doteasy website.
When prompt to select a hosting plan, simply choose the No Hosting option.
Point the addon domain’s DNS to your current hosting account
Once the addon domain has been registered, you will need to change its DNS so that it’s pointing to your hosting account.
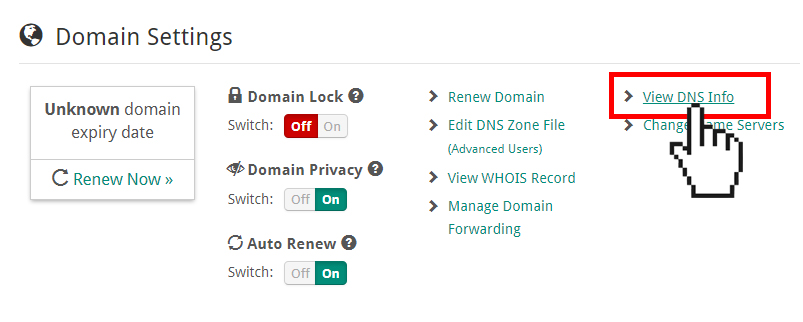
- Login to your hosting account’s Member Zone and click on View DNS Info under Domain Settings.

- Locate the DNS settings information you will need for your add-on domain. Copy the addon domain primary and secondary DNS server information.
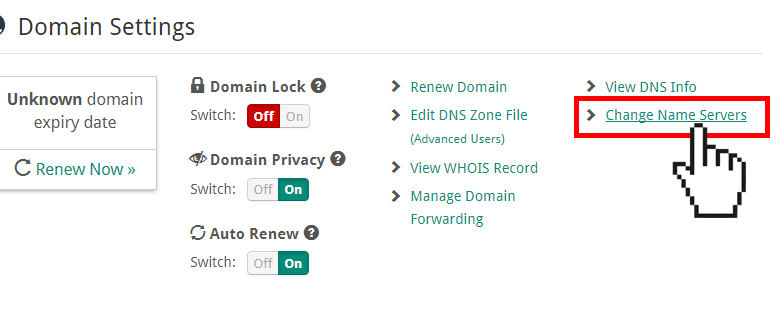
- Log into your addon domain’s Member Zone and click Change Nameservers under Domain Settings.
- Paste the addon primary and secondary DNS information that yo had copied into their respective fields.
- When ready, click Apply Changes to confirm the DNS changes for the addon domain. DNS changes may take several hours to completely take effect.


Once you have updated the DNS for your addon domain, you can add it to your existing hosting account using the Addon Domains tool in cPanel.
