Creating Email Signature in SmarterMail
SmarterMail allows you to create both user- as well as global domain email signatures. This article will show you how to setup a user-account email signature in SmarterMail.
Creating user-account email signature in SmarterMail
- Log in to Webmail.

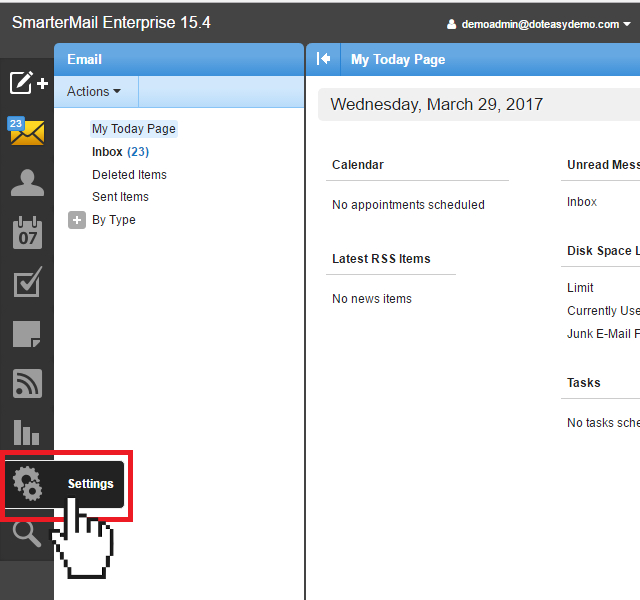
- On the SmarterMail dashboard, click on Settings.
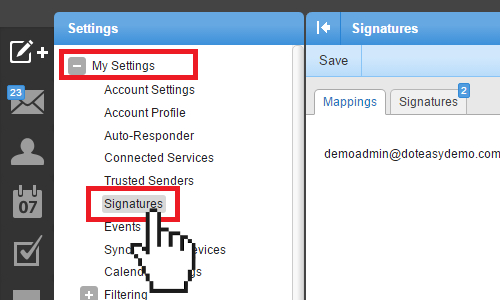
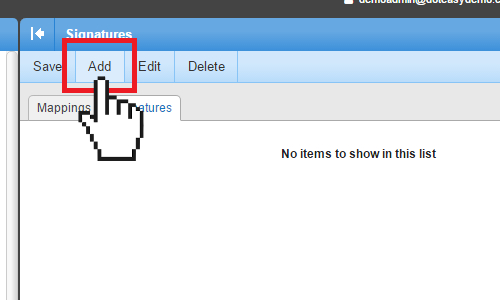
- Under My Settings, click Signatures.
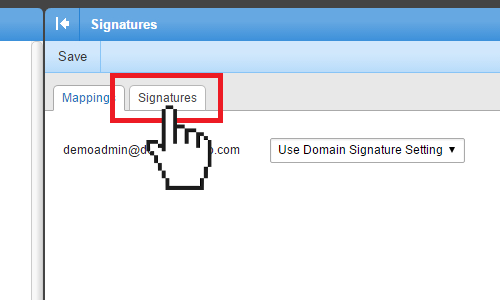
- Click on the Signatures tab.
- Click Add to add an email signature.
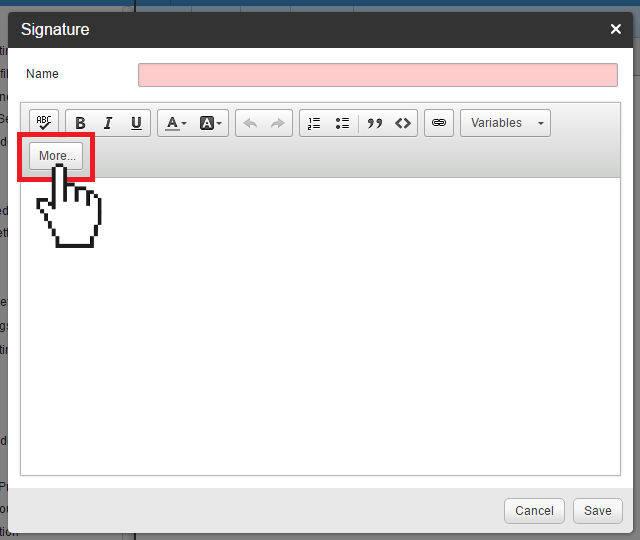
- Give your email signature a message and enter your email signature message in the message box.
Note: SmarterMail allows users to create HTML formatted signatures that can include stylized text, links, images and more. Click on the More buttons for additional styling options.
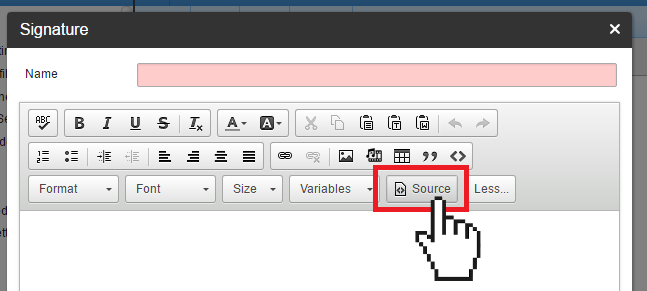
- If you want to add an image to your signature, simply click the Source button to add the code
< img data-src=”the full URL of the image” >
- When ready, click Save to close the Signature window.
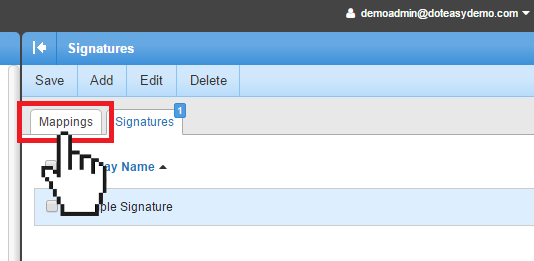
- You will see the new email signature added to the Signatures tab. Click Save to save the changes.
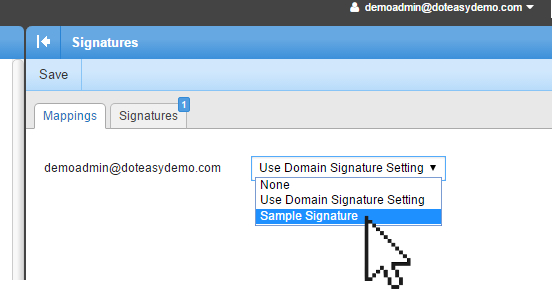
- Click on the Mappings tab in the Signatures window to assign the signature to your email account.
- Click Save to save your changes.
You have now created your new email signature. The email signature will automatically appear when you compose an email from your SmarterMail webmail interface.
Note: If you also use a local mail client or a mobile device to send email messages, you will also need to add your signature in these applications as well.
