Creating Email Signature in RoundCube
This article will show you how to setup an email signature in RoundCube.
- Log in to Webmail and choose the RoundCube option, if not already your default webmail.

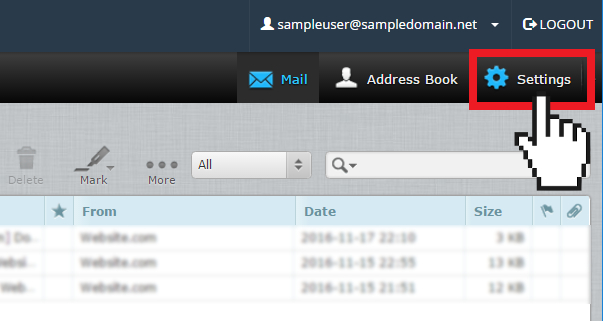
- Click on Settings at the upper right side of the page. This will open the RoundCube Settings screen.
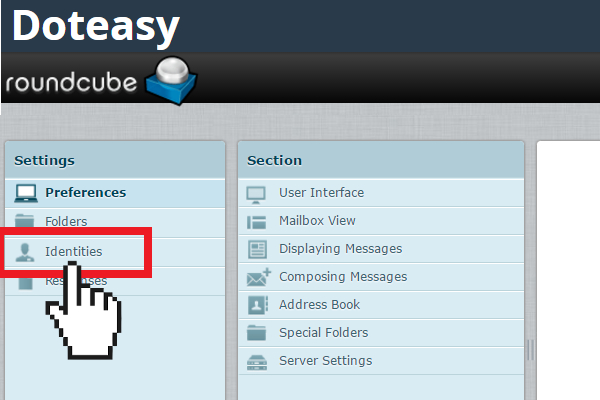
- On the Settings screen, click on the Identities tab.
- Select the email address that you want to create a signature for.
- Scroll to the Signature section and enter your custom signature in the message box.
- If you wish to use HTML in your signature, simply click the HTML Signature checkbox. This will change the standard message box to a HTML editor to allow for special formatting.
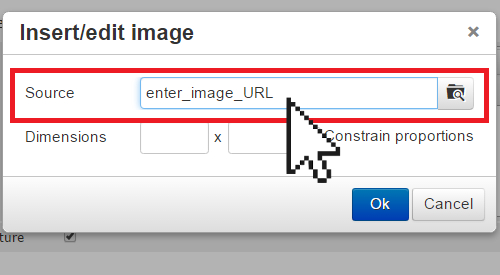
Note: Any image that you use in the signature must be accessible through the Internet or it will not work. The safest way is to add the image by it’s URL.
- Click Save.


You have now created your new email signature. The email signature will automatically appear when you compose an email your RoundCube webmail interface.
Note: If you also use a local mail client or a mobile device to send email messages, you will also need to add your signature in these applications as well.
