Set Up: Upload a Private Key in cPanel
NOTE: This article is for users who already have an existing SSL certificate (ie. purchased from another provider) and would like to install it on their Doteasy web hosting account.
If you do not have an SSL Certificate yet, you can purchase one from Doteasy, and we will install it for you, free of charge.
A private key is used to decrypt information transmitted over SSL/TLS. When you install an SSL certificate on your hosting account, the first step is to generate a private key file that will be used specifically with the SSL certificate.
However, if you already have an existing key, you will not need to generate a new one. Instead, you can simply upload your existing private key.
When uploading a new key, you can:
- Paste the key into the textbox
- Upload the .key file from your local computer
Paste a private key
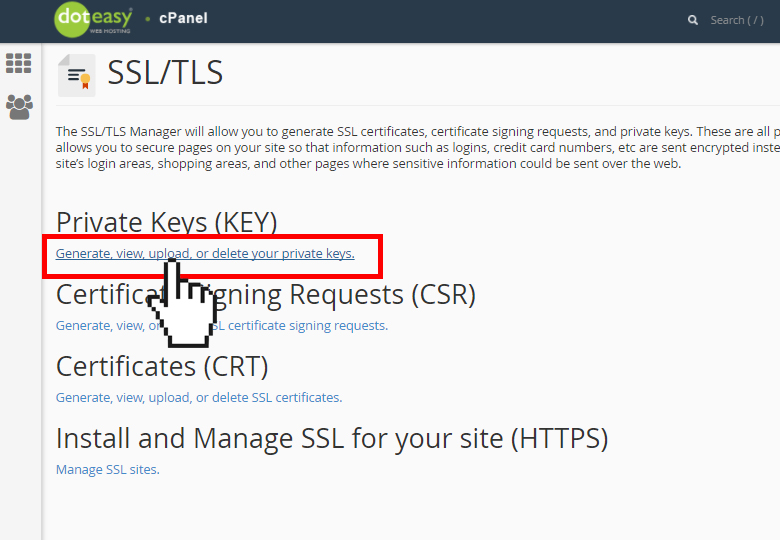
- Under Security in cPanel, click on SSL/TLS.

- From the SSL/TLS Manager, click on Generate, view, upload or delete your private keys under Private Keys (KEY).
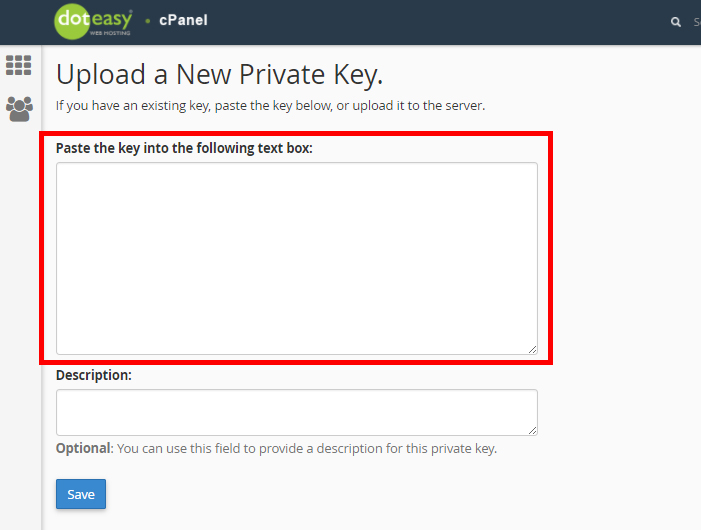
- Under Upload a New Private Key, paste the key encryption code into the textbox.
- In the Description text box, enter a brief description about this private key. (NOTE: This step is optional)
- When ready, click Save. You will see a confirmation that the new key has been generated successfully.

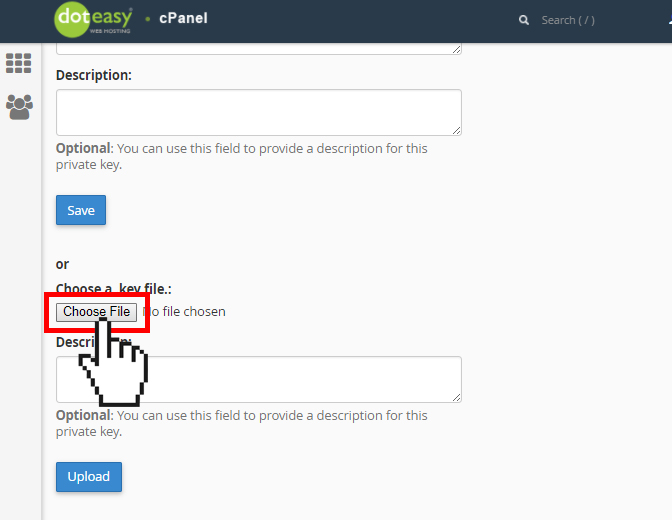
Upload the .key file
If your existing private key is saved on your local computer as a .key file, you can upload it directly to your account using the Private Key interface.
- Under Upload a New Private Key, click Choose File to locate the .key file on your local computer.
- In the Description text box, enter a brief description about this private key. (NOTE: This step is optional.)
- When ready, click Upload. You will see confirmation that the key has been added to your server.