Installing WordPress on your website
If you have subscribed to any of the WordPress hosting plans from this page, or chosen the "WordPress Pre-Installation Option” during signup, please note that WordPress has already been installed for your account! You can start building your website right away by logging into your WordPress dashboard - no need to follow the steps below.
WordPress is included for FREE with all Doteasy Hosting plans. If you have subscribed to our domain-only plan and would like to take advantage of website and email hosting features, please contact us for more details.
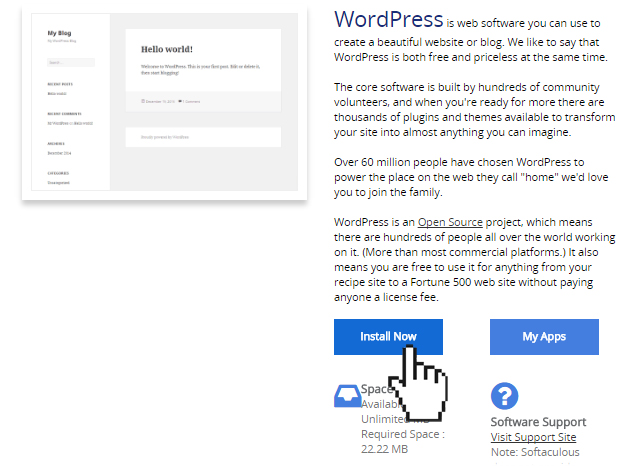
WordPress is a free online website content management software. WordPress is one of the most popular software out there today - it is the most preferred choice for creating powerful blogs and websites.
If you want to use WordPress to build your website or use it for a blog, you have to first install it on your hosting account.
At Doteasy, you can install WordPress through one-click quick install powered by Softaculous.
To install WordPress using one-click quick install:
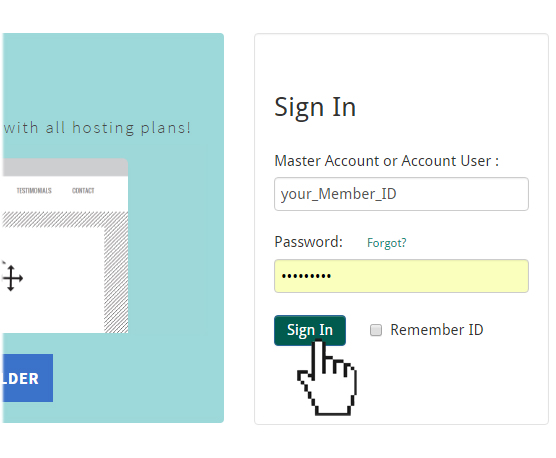
- Login to your Doteasy Member Zone

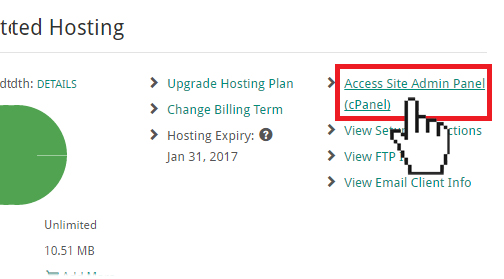
- Once you’re logged into your Member Zone, click Access Site Admin Panel (cPanel).
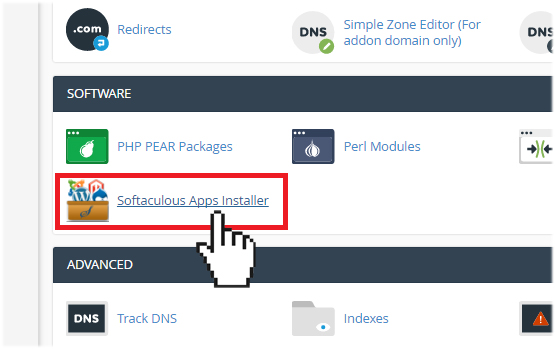
- On the cPanel dashboard, under Software, click Softaculous Apps Installer.
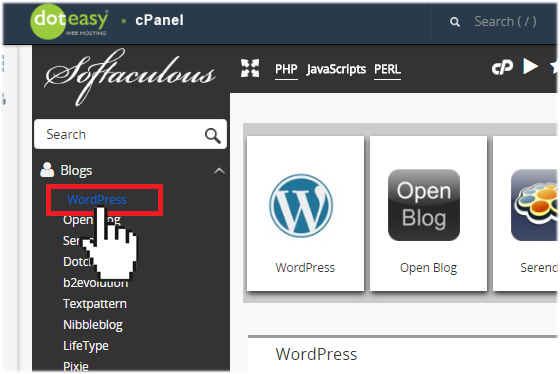
- Under Blogs, click WordPress.
- Click Install Now.
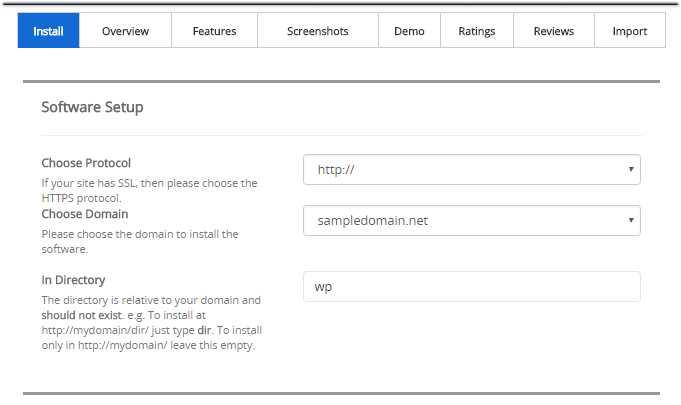
- On the WordPress setup form, under Software Setup:
- Choose Protocol – if your website has SSL, then select the HTTPS protocol from the drop-down menu; otherwise, leave it on HTTP
- Choose Domain – if you have more than one domain hosted on your hosting account, you can select the domain to install WordPress
- In Directory – if you want install WordPress only in http://yourdomain.com, then leave this field empty
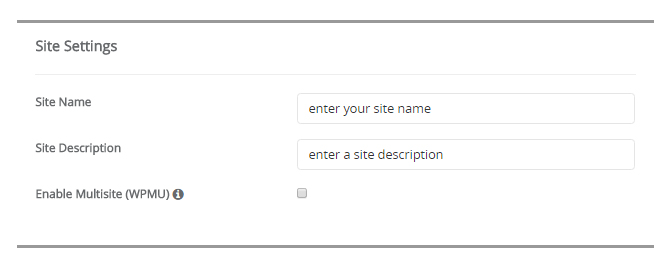
- Under Site Settings,
- Site Name – enter your website name
- Site Description – enter a description for your WordPress website
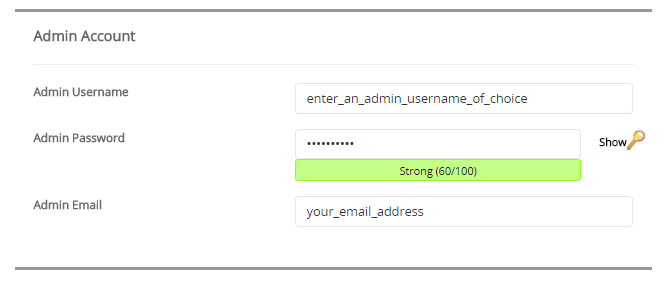
- Under Admin Account,
- Admin Username – enter an admin account username
- Admin Password – enter a password for the admin account
- Admin Enter – enter the email address of the admin contact
- Under Choose Language, use the drop-down menu to select the language of your WordPress software.
- Under Select Plugins, check the Limit Login Attempts (Loginizer) option.
- Under Select Theme, choose the theme you want to use on your WordPress website. Note: you can always change the theme anytime once WordPress has been installed.
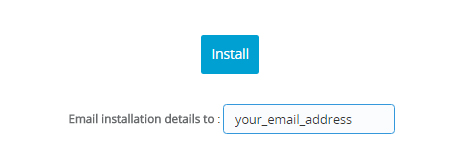
- When ready, enter your email address in the Email installation details to field. Then, click Install.
Once installation is complete, you will be able to start working on your WordPress site.
Logging into your WordPress site
To use WordPress, you need to login to the WordPress Dashboard.
http://yourdomain.com/wp-admin
Enter the admin username and password you created and click Log In.
